Better underwater photos for better records
Practical habits that turn a nice photo into one that can identify a species, from getting closer to showing the right side.
Reef and science3 min read
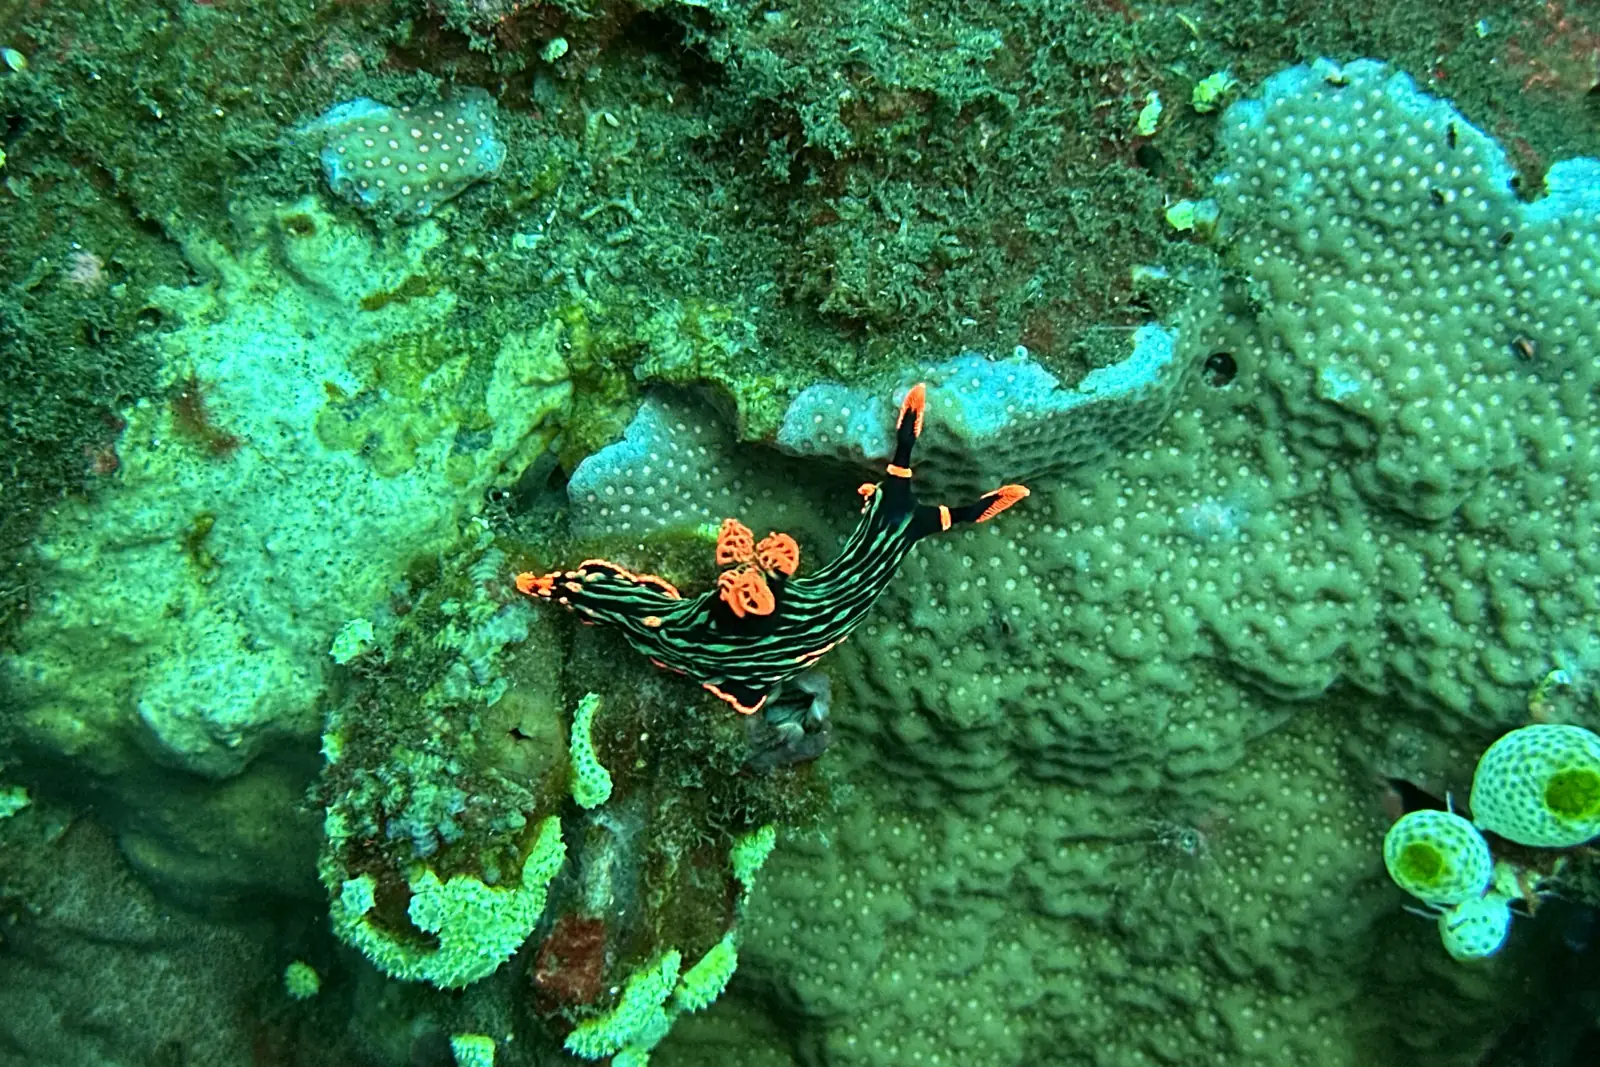
A photo is the best evidence a sighting can have. It lets someone else check the name, and it lets you check it too when you are back on land with a field guide. The photos that help most are not always the prettiest ones. Here is what makes the difference.
Buoyancy first, camera second
No photo is worth a broken coral. Get your buoyancy settled before you lift the camera, keep fins and gauges off the reef, and do not kneel or hold on to get the shot. Do not chase an animal or move it into better light. A calm approach also gets better pictures, because the animal stays where it is.
Get close, then closer
Water softens everything between you and your subject, and it takes colour and contrast with it. The single biggest improvement for most divers is less water: move closer instead of zooming. Fill the frame with the animal, not the blue around it.
Show the features that decide an ID
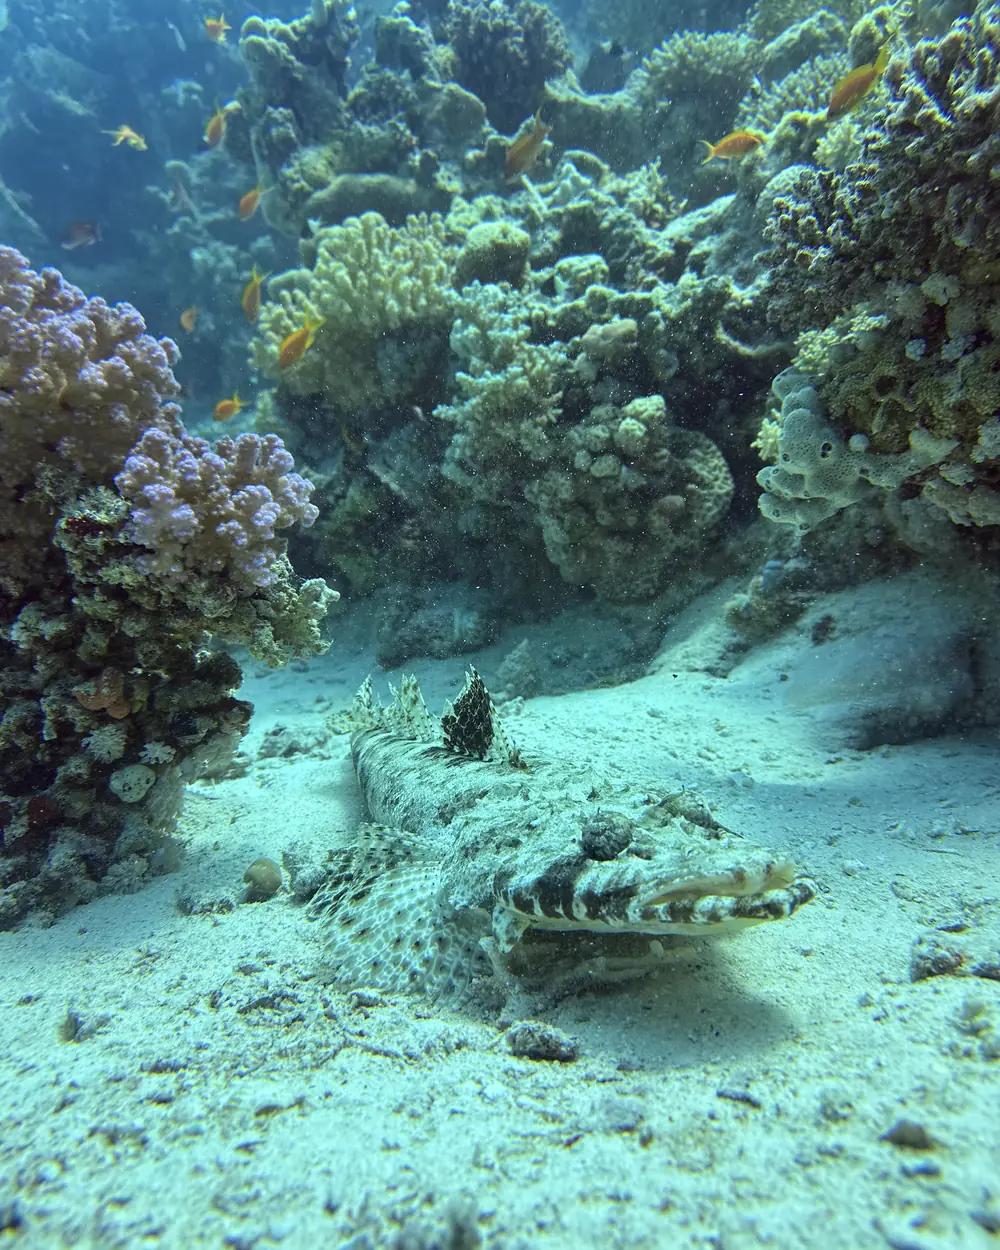
- Fish: side-on, the whole body in frame, fins spread if you can wait for it. Shape, pattern and fin markings do most of the work.
- Nudibranchs: the whole animal from above or the side, with the two sensory horns on the head and the gills on the back visible.
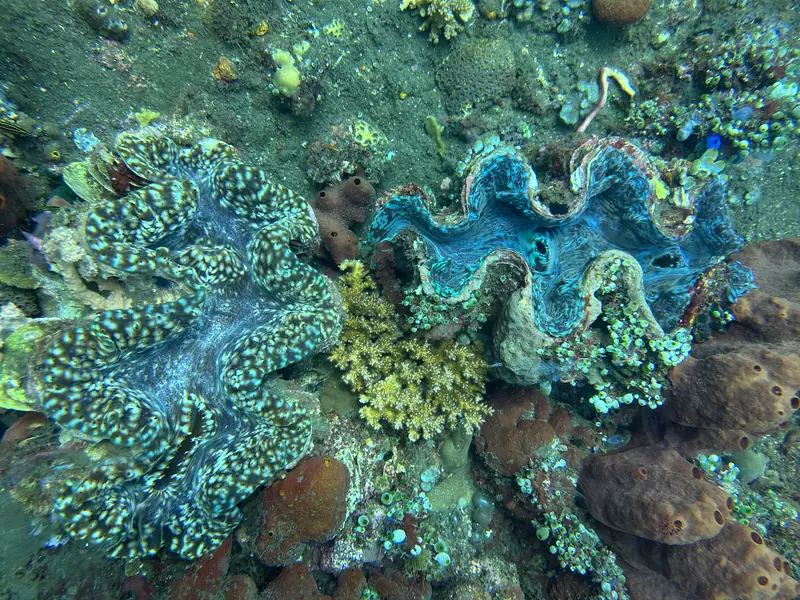
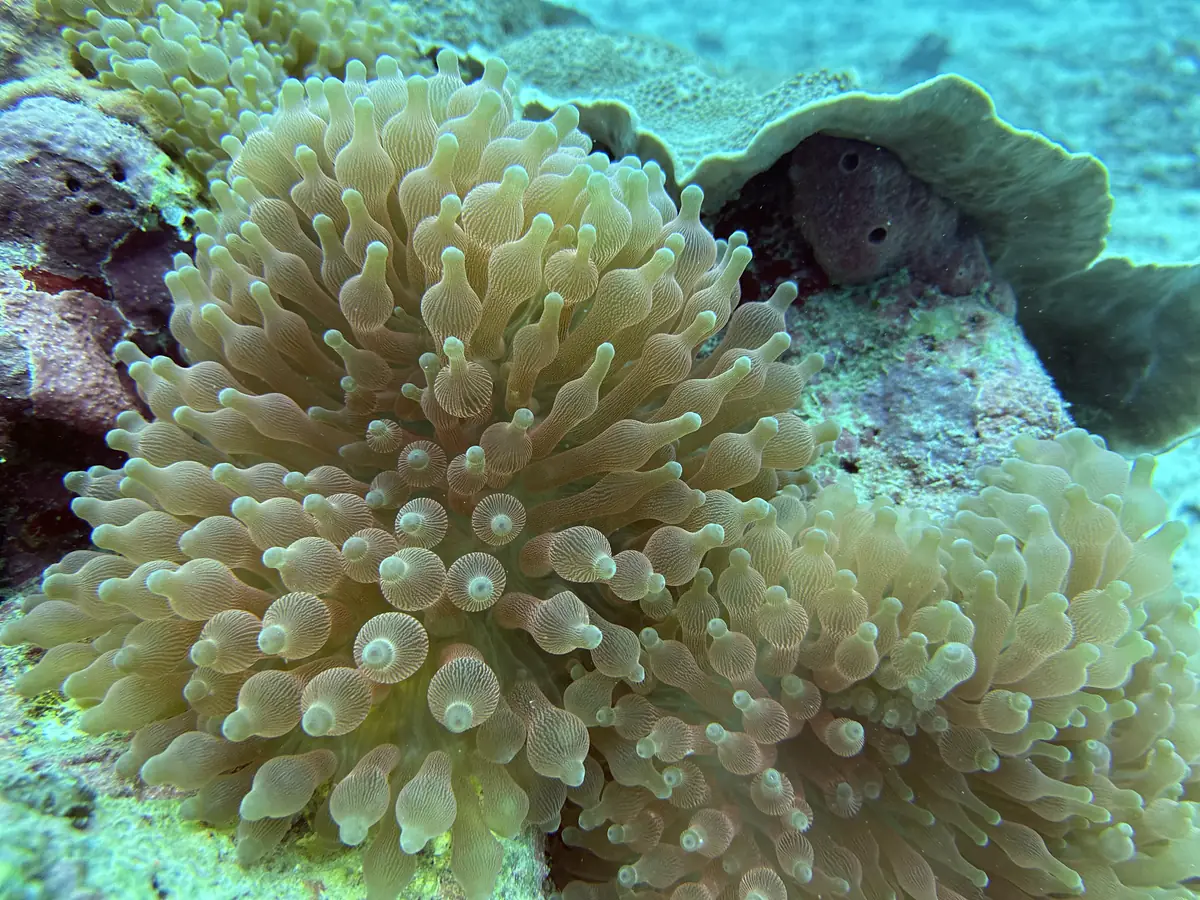
- Corals: one photo of the whole colony for shape, and one close-up for the surface texture.
- Anything small: something in the frame for scale, such as a finger held well away from the animal.
Take more than one angle when you can. A second photo from another side often shows the one mark that separates two lookalikes.
Light and colour
Water absorbs red light first, then orange and yellow, so colour fades fast as you go deeper. Colour is often part of an ID, which is why a blue-green photo can be hard to use. Shoot in the shallows when you can, keep the sun behind you, and if you carry a light or a strobe, get close enough for it to reach.
Keep the original file. Editing is fine for sharing, but the original is the honest record, and it holds the date the photo was taken.
Keep the wide shot too
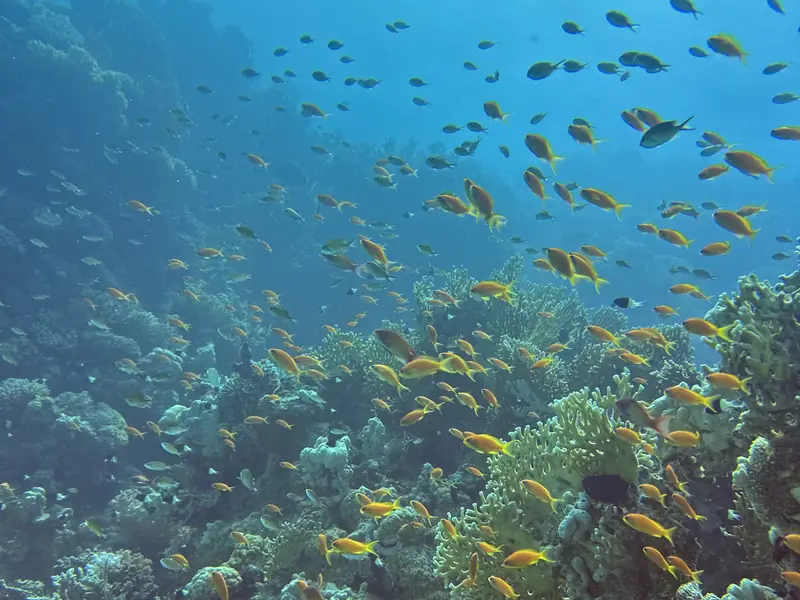
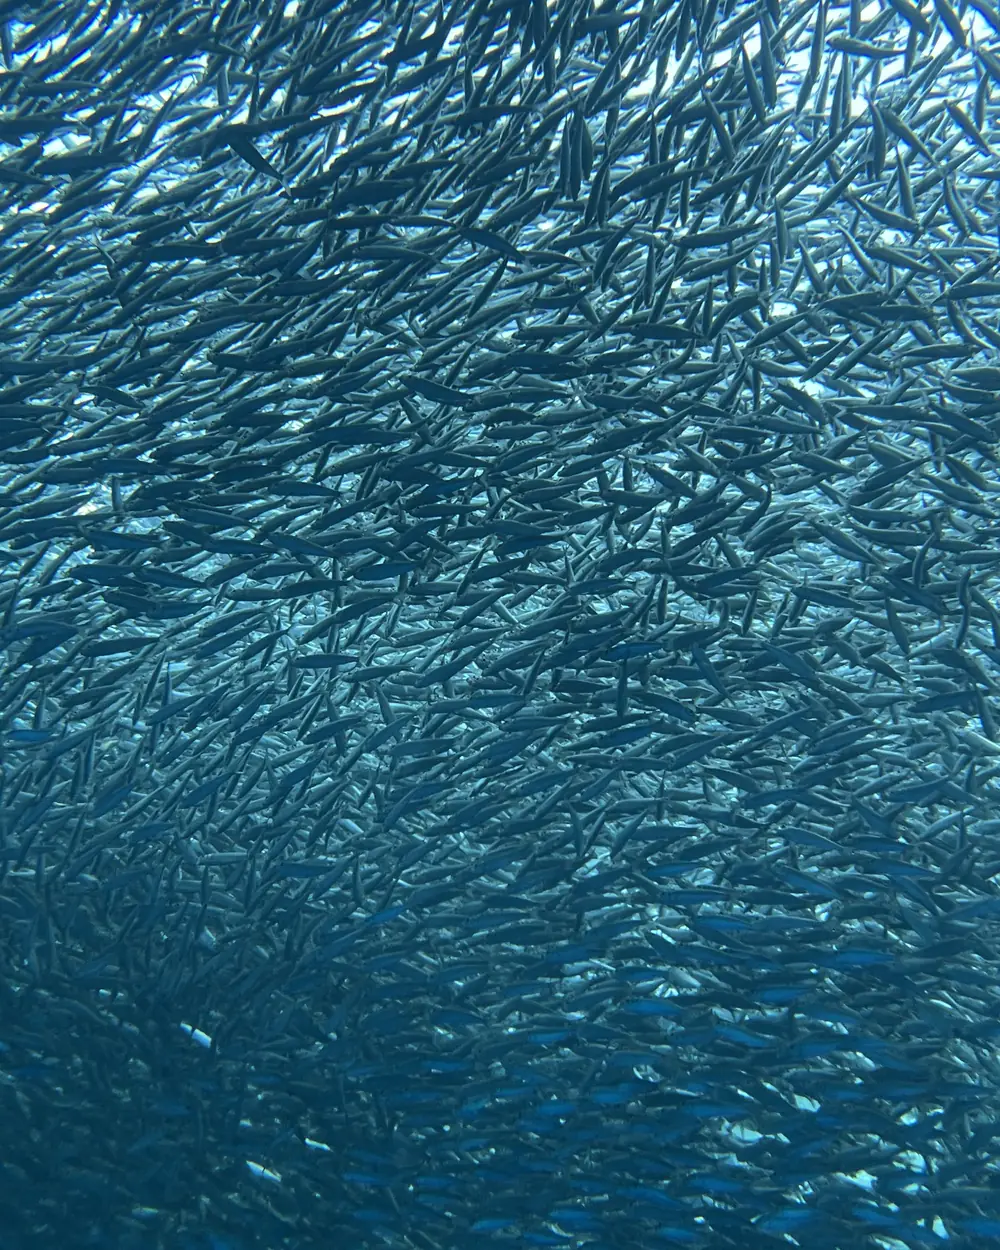
A school of fish or a sweep of reef will rarely identify anything, but it records the dive: the conditions, the visibility, the state of the reef. Take one of those, then go close for the record shots.
Put the photo to work in DIVR
When you log the dive, add your photos and mark the useful ones as Species. Tag which species a photo shows and it can be counted. If a photo carries a date, the form offers to use it for the dive. You can also attach an ID photo to a single sighting, which is what a marine park uses to confirm it. More on that in Add the species you saw.